From my Notebook >
How to install POV-Ray in Ubuntu 14.04

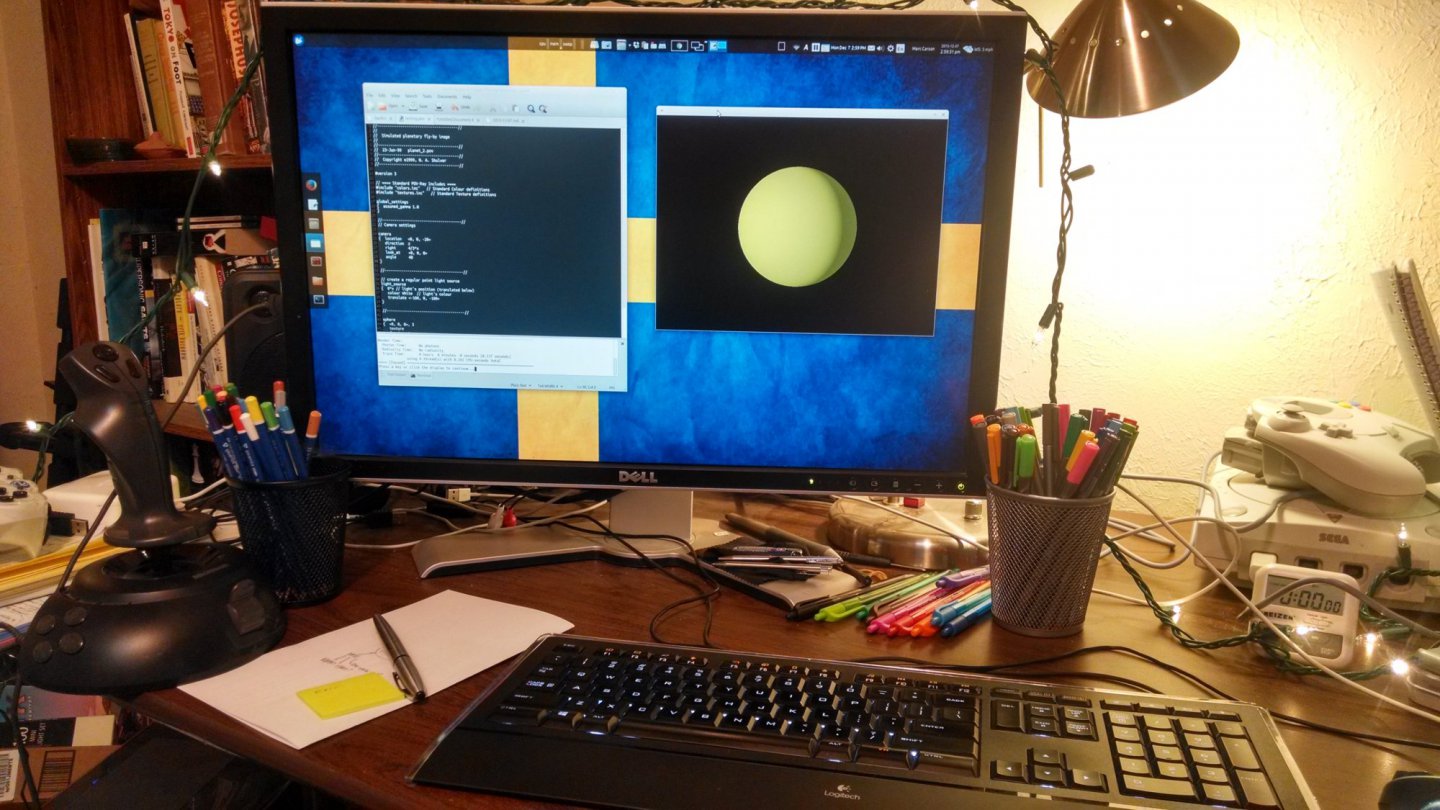
Above: povray-finally.jpg …finally got the thing running.
I’ve recently been working more on my Linux desktop and thought I’d take advantage of some spare CPU cycles here and there by learning POV-Ray. I’ve used just about every other 3D app out there (not really, but most) and the appeal of the text file is really strong to me now.
I soon found out that getting POV-Ray running is pretty easy on Windows and relatively simple on a Mac, but in Linux it was a greater pain than I feared. I had to do a lot of digging around to figure out what I was doing wrong.
First problem: You can’t really use Wine
Having had a lot of success with Wine recently, I tried using POV-Ray in Wine after failing to find a packaged POV install for Ubuntu 14.04.
This didn’t work out well.
POV-Ray in Wine has some bugs, one of which locks up the entire application. I don’t recommend it. It worked for me for the first half hour of goofing off, but after that it started to complain about the .pov file being modified. The dialog that reports the modification locks up the entire application.
I’m not sure what other application was modifying my .pov file, so maybe I’ll give it another try sometime, but for now: The problem has been reported in the Wine application database, so that’s good enough for me.
Second problem: You have to compile the thing yourself
Here are the steps:
- Clone the Git repo (“Whaaatttt?” you scream)
- Do this somewhere on your system (like your Downloads folder? I dunno; I usually use ~/apps) and navigate there in a terminal.
- If you don’t know how to do that, I’m not sure you can complete this tutorial, sorry.
- The command to run is
git clone https://github.com/POV-Ray/povray.git - No, you shouldn’t just download the .zip file. Usually this works for me, but it didn’t this time.
- Do this somewhere on your system (like your Downloads folder? I dunno; I usually use ~/apps) and navigate there in a terminal.
- This will make a new folder called
povray. cdinto thepovray/folder.- Run this command: ./configure COMPILED_BY=“Your Name < you@example.com> “
- (Yes, they want your name and email there, but they’ll never know)
- Deal with all of the configuration error messages.
- It will complain about missing libraries. It wants a JPEG library? You’ll need to install that. It wants a TIFF library? You’ll need to install that.
- I went “???” and used the command
sudo apt-cache search jpeg, for example, to find out what jpeg development libraries (the ones ending in -dev) were available. - When you find the libraries you need, install them, e.g.
sudo apt-get install libjpeg-dev - Re-run the configure command above until it is successful
- Run
make- Wait for a while as make does its thing.
- Run
sudo make install- Wait for a little bit
- All done!
Now you can run povray in the terminal and you’re good to go.
Oh but wait
You ran povray and it just output an unhelpful message?
You ran povray --help and it output some credits? Huh??
You ran povray example.pov on some scene file and the render window appeared and then disappeared? Argh!
After digging around, I finally used a command like this: povray example.pov -w1280 -h800 +P
This command will render the scene at 1280×800 and keep the render window open until you click inside it to close it.
Wait but huh?
Nope, there’s no gui for linux.
Nope, there’s no special text editor for linux.
The POV-Ray docs are like, “honestly I just use Emacs but I can’t be bothered to go into that right now.” ROFL.
From a quick Google search, it looks like your options there are SciTE, Kate, and PovClipse for Eclipse. I’ll probably try SciTE first because I like the editing component; it’s the same one that’s used in Notepad++. (I’m using Gedit now, and of course support for .pov files is non-existent)
Oh and you can also use Notepad++ in Wine; it works pretty well, so that may be another route to explore.

 Friendlyskies.net